Worldbuilding tutorial : How to use real DEMs to create fantasy heightmaps with Photoshop.
Hello, everyone!
Many people on Reddit asked me how I made the topography of Hellion, so I promised a tutorial on the matter. Now it’s time to deliver for those who may find this helpful for their own projects. And, even if you don’t do worldbuilding at all, maybe this will serve as a helpful insight on a very important part of my creative process.
Soon in my worldbuilding career, I discovered that you inevitably need to draw inspiration from real life if you want to make realistic terrain for your world. Taking real data and using it to make your own is a very valid and common method. In this post, I’ll give you a guide on how to do it.
In this post, we’ll learn how to:
-
Download real heightmap data from the USGS website.
-
Use QGIS to export the data into usable image files.
-
Compose our terrain in Photoshop.
What you need
-
QGIS: A professional GIS software for all your mapping needs. It’s incredibly powerful, but we’ll only use a small fraction of its many capabilities. And it’s free!
-
Adobe Photoshop: You can also use other programs such as Gimp, but my instructions will be written with PS in mind.
-
A world map to work with. It’ll work too if you only have parts of it, like a continent or an island.
Because I want to maintain the mystery of my world, I won’t use any map of mine for the purposes of this tutorial. I want you all to discover it little by little.
Step 1: Download the data
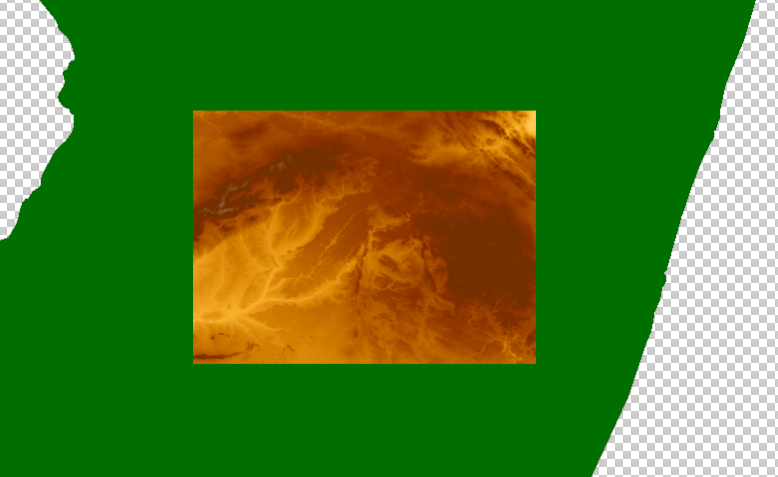
Heightmaps are grayscale images that contain information about the topography of a region. If you have any sort of videogame design, you may have heard about them: heightmaps are widely used to compose maps or levels in game engines like Unreal Engine or Unity. However, they’re also extremely important for professional cartographers, as they can obtain complex elevation data from a single file! How cool is that?
Heightmaps store height information based on color. Higher values (=closer to the color white) serve higher elevations, and lower values (=closer to black) represent lower elevations. You can distinguish mountains from valleys based on their color, and so on.
We can get our data from various websites, but I’ve found that the USGS Earth Explorer service, maintained by the United States government, is the most intuitive and easy to use.
You need to create an account in order to use this service. It only takes a few minutes.
Once you’ve logged in, you can access the main service.
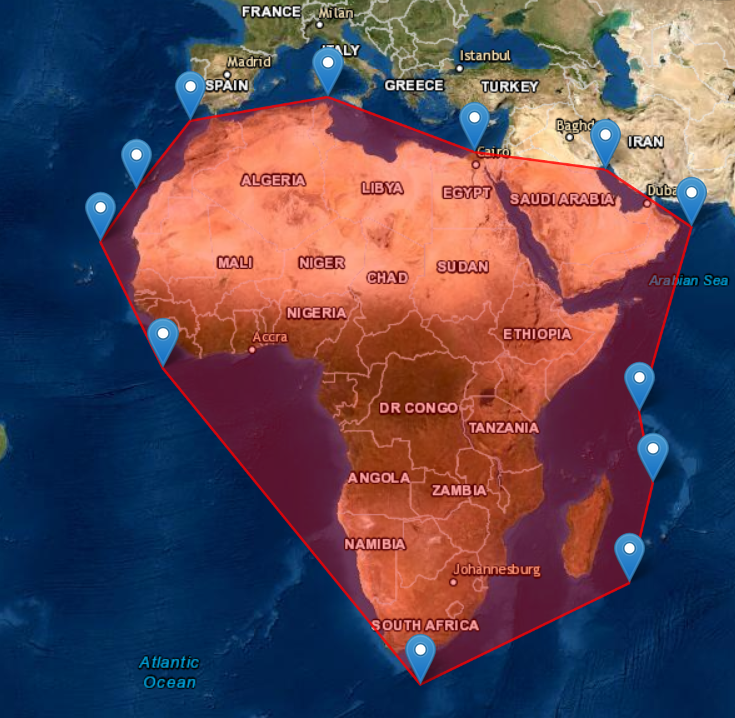
Now, you’ll see a world map with many, many options on the left. What we must do now is to specify the region we want to obtain data of. I want to download heightmaps of all of Africa so, by clicking on the map, I have created a polygon that comprises all of it.
Click Data Sets to go to the next step.

In this window, we have to select the data we want. There are many interesting data sets under Digital Elevation, but the most updated one is GMTED2010.
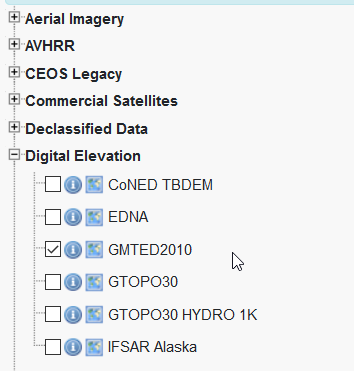
Check the box and click Results. Here is our available data!
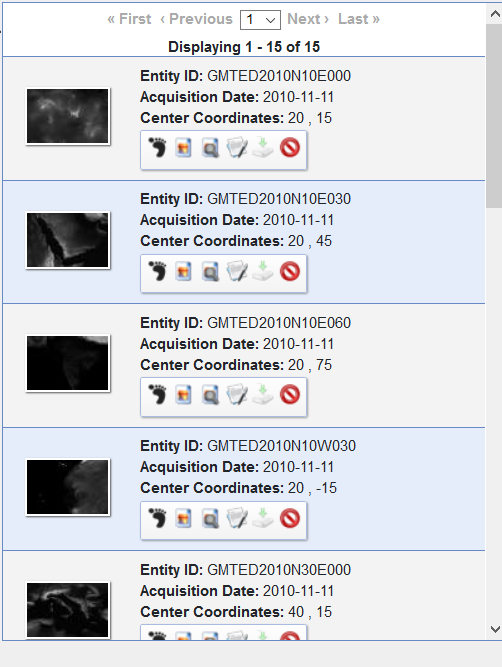
You can’t see much from the thumbnails, so it’s easier to know where each region is if you click the image button over there.

There it is!
What I do now is to check every image until I have a full mosaic of the continent. Sometimes you’ll notice that some images contain data of other regions outside of your area (Europe in this case). This is not a problem, as the area we defined earlier just serves as a guide.
Once you have selected all the images you’re interested in, click the download button on each one.

The quality of the data is given in arc seconds: the higher the number, the lower the quality. I use 15 arc seconds data as a compromise, and it works just fine.
About downloading: I find the Bulk Download Application (the box icon) far more convenient, but it’s an old software and it gives a lot of problems with Java for some reason. However, I suggest you try it if you find this download process tedious.
Step 2: Converting the data
This data is downloaded in compressed zip files. Inside, you’ll find another bunch of files with strange names.
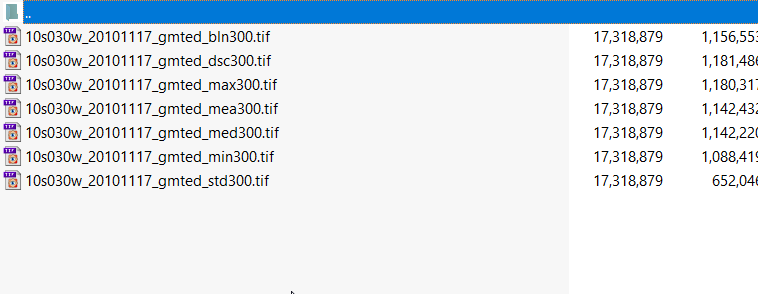
Just grab one of them (doesn’t matter which) and extract it in a folder. Do this for all the files so you have them all together in a folder. What we’re going to do now is to import these images in QGIS so we can merge them into a single file we can work with.
Open QGIS and do the following:

Then click the … button and look for the files you previously extracted. Click “Add” and close the window.
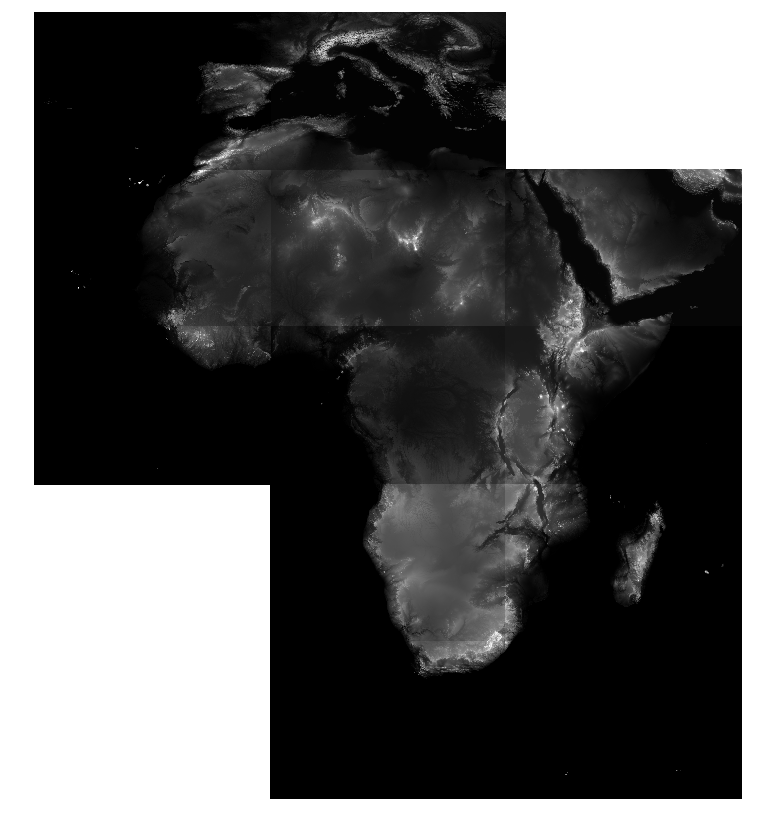
Voilá! Every image is in place. That’s because they are GeoTIFF files, which come with georeferencing information inside (that is, the info that says where it is located). But there’s a problem: some images have different values than their neighbours.
We need them to be seamless, and there’s a very useful command for that: “Merge”. As its name suggests, it merges all the images into one.
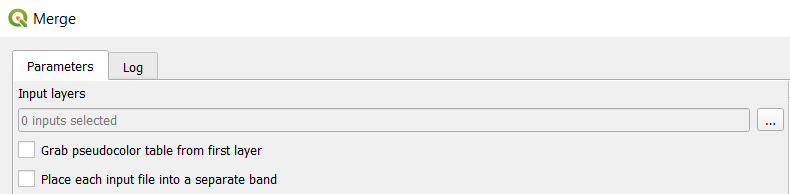
Click the (…) button on Input Layers, select all of them, click OK, and click Run.
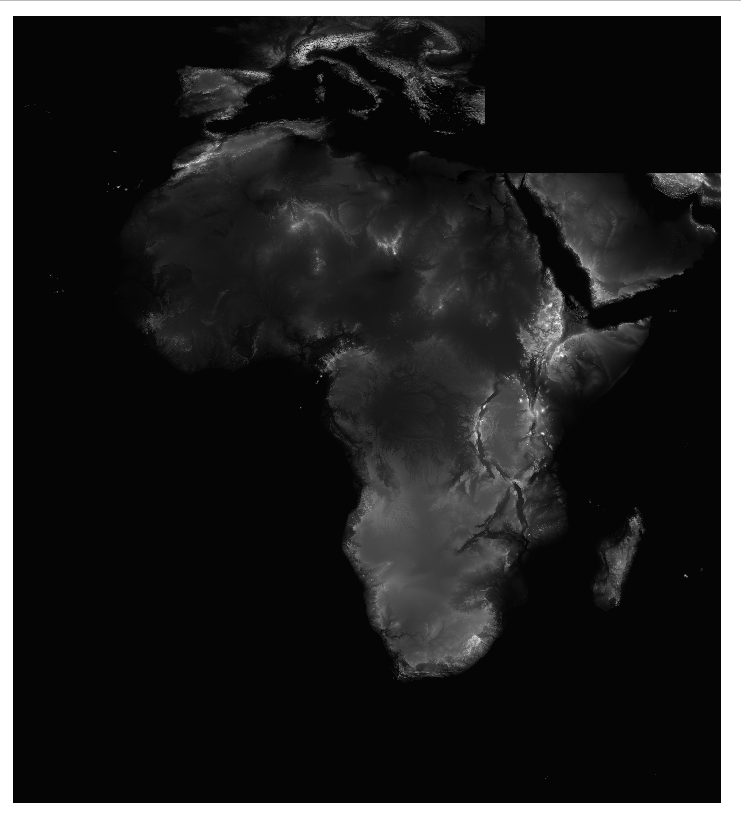
Done!
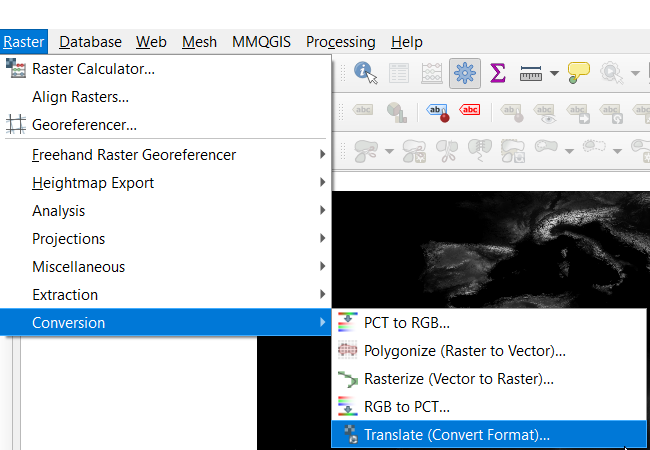
The next step is to export our heightmap in a 16bit image format. The 16bit part is very important, as 8bit images corrupt lower elevations because they store fewer color values. Look for the “Translate” command:
In the Input layer parameter, select the merged layer. Scroll down and change the following:
Additional command-line parameters: copy this -> “-scale MIN MAX 0 65535” without the commas.
Replace the MIN and MAX parameters with the numbers that appear in the Merged layer (in my case, it’s 0 (min) and 4145 (max)):

Output data type: UInt16
This is to make sure that our output is 16bit.
Converted: click the … button and choose the output name and folder.
Click run, and we’ll have our final image in no time! Depending on your computer specs, this will take more or less time.
Step 3: Creating your heightmap
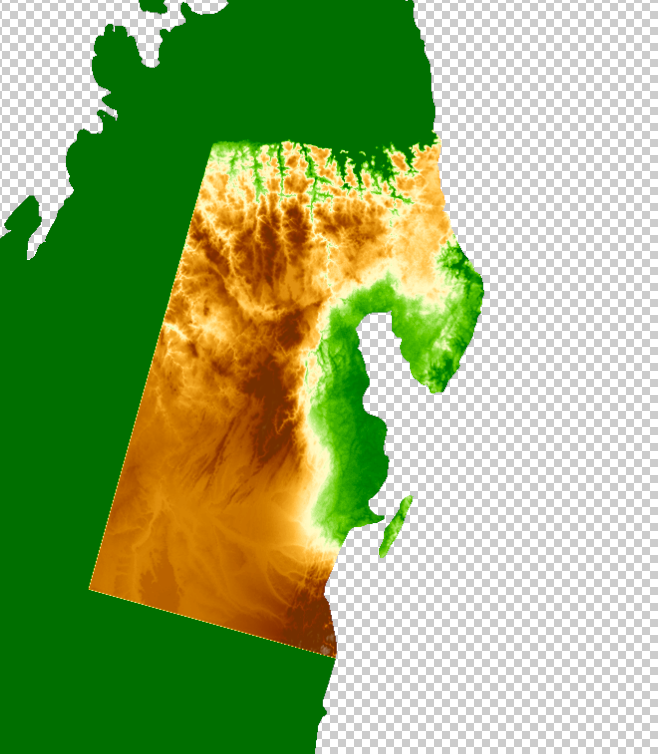
This is the shortest step on this tutorial. I can only give you some general steps on how to create your heightmap, as it’s more of a creative and personal process. You need to open both the heightmap and the landmass you want to make your topography of. For this tutorial, I’ll use a blank map of Madagascar, but you should use a black and white map of your landmass. Those colors make it easier to edit the shape and make masks out of it.
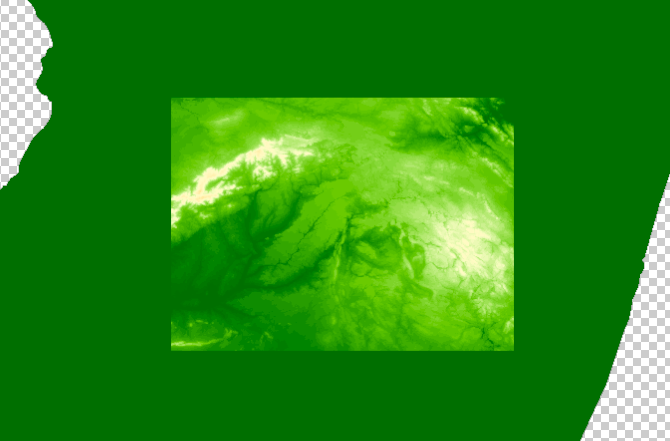
When you edit heightmaps in Photoshop, it’s very difficult to discern the topography just with grayscale color. What I do is to apply a topographic gradient both to the real heightmap and my own. Just compare:
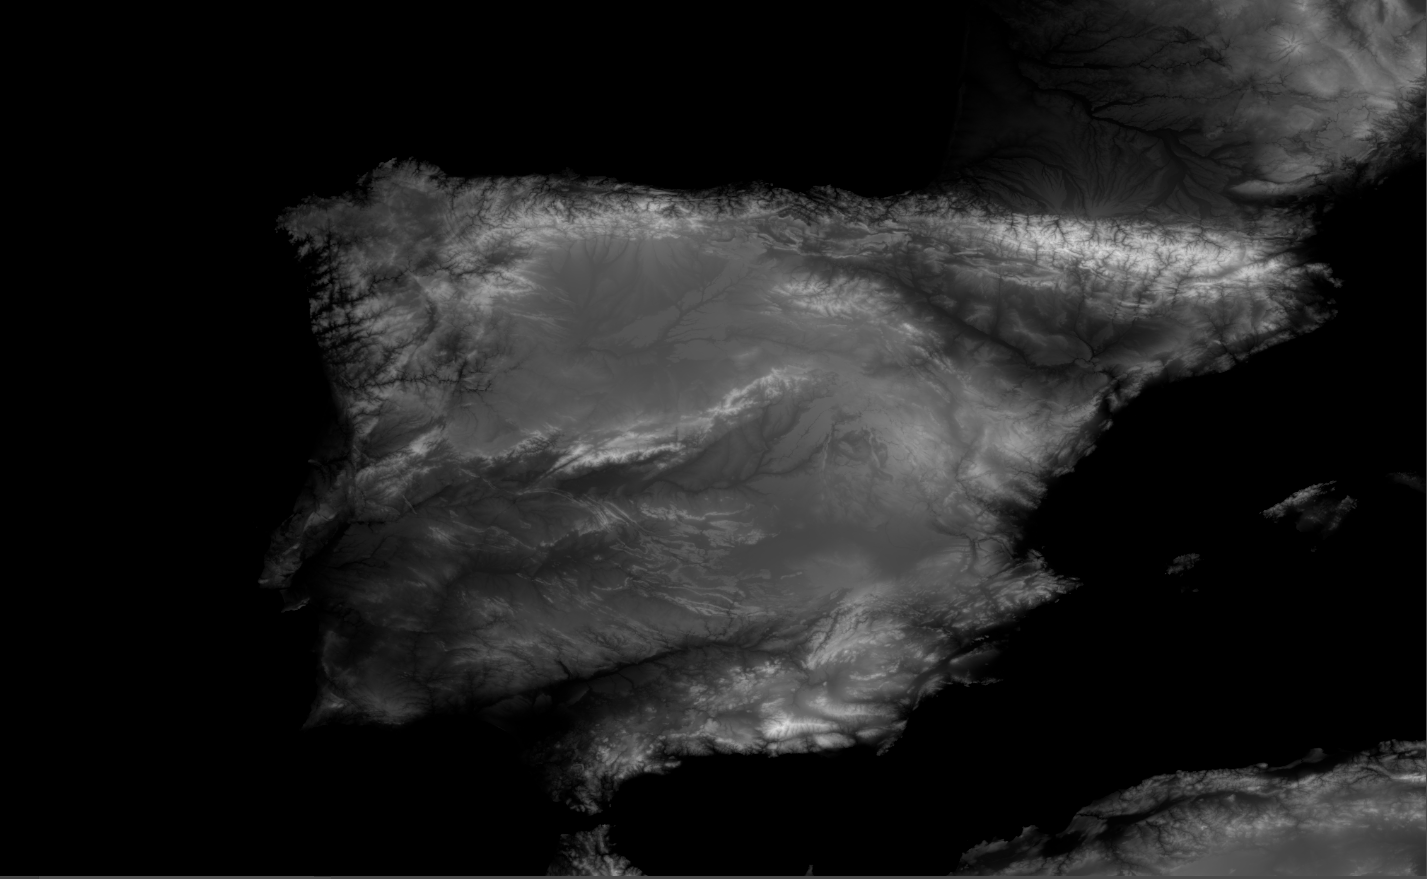
Much better, right? I’ll give you my own gradient for you to use (Link). Please note that you need to change the Color mode on the original heightmap to RGB in order to see colors.
The process now is very straightforward: you copy a part of the heightmap and paste it on your landmass, making a collage by erasing, blending and changing values. Some tips:
- Try to paste areas that have the same scale as your landmass. For example, if you want to make an area that is 250 km wide, make a 250 km selection on the base heightmap (look up distances on Google Maps or something similar). That way you make sure that your terrain is realistic in size.
- Sometimes it’s easier to change the values of the terrain than just erasing parts of it. For example, we want to change parts of the coastline relief to make softer and more credible topography on the coast:
The Dodge and Burn tools are very useful for this.
Check out the difference on what I did with Burn (up) and Erase (down).
As you can see, Erase gets rid of important relief information, while Burn lowers the values and maintains the info.
- You can also change the overall values of a part by using the Curves tool. This is mostly a matter of trial and error. With this tool, you can turn real mountain regions into wonderful valleys. Look: Before Curves - After Curves.
Lastly, a final consideration: please, please, don’t copy and paste large chunks of terrain. At least, not without editing them a lot. People will notice and it’s not a very creative thing to do. Copying small chunks is more tedious and it takes more time to compose something, but the result is much better and personal. Don’t copy the Earth, folks.
That’s the end! I hope this is useful for anyone wanting to make a fantasy heightmap for their worlds. If you have any question, feel free to by the means I provide in this blog.
Happy worldbuilding!